
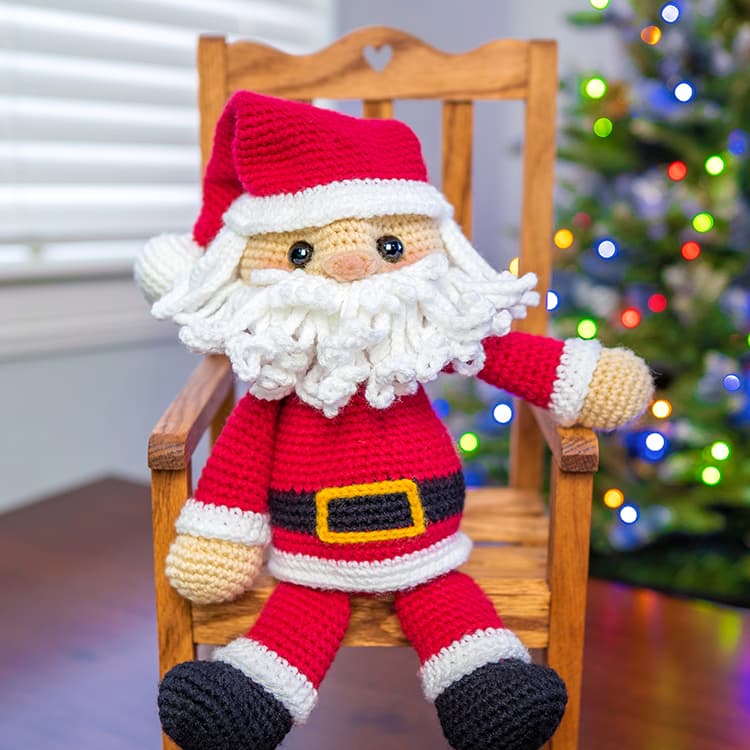
Welcome to our fun Santa Claus Amigurumi crochet tutorial! Let’s create an adorable Christmas figure together with the power of your crochet. It doesn’t matter if you are a beginner or an experienced crocheter, this project is perfect for everyone. Let’s start!
Necessary materials:
Red, white and fur crochet yarn
Crochet hook corresponding to yarn size
Safety eyes (or eye beads)
Filling (fiber or cotton filling)
tapestry needle
Scissors
Black embroidery thread
Step 1: Preparation
Before you start, make sure you have all the materials on hand. Choose the colors you want for Santa Claus and follow the desired color pattern.
Step 2: Santa Claus Head
Start with the skin (skin color) and make a magic ring. Work 6 single crochets (sc) into the ring. Pull the thread to tighten the ring. This will be the top of the head.
Step 3: Santa’s Body
Switch to red and work 6 increases around the head. This will create our Santa’s body.
Step 4: Legs and Boots
Continue with red and do 6 sc in the next round. Now work 2 chains and skip 2 stitches. Then work 6 sc to form the legs. Now switch to white and work 6 sc to create the boots. Continue alternating between red and white, working 6 sc for the legs and 6 sc for the boots until the legs are the desired length.
Step 5: Body and Beard
Switch back to red and work in sc for several rounds to create the body. Next, shave using the white thread. Work in several loops, creating random spikes to add flair to your beard.
Step 6: Arms
Change to skin color and work 6 sc on each arm. Use a piece of red yarn to create Santa’s mittens. Make two small red balls and sew them to the ends of the arms.
Step 7: Eyes and Nose
Attach safety eyes or sew on beads to create our Santa’s eyes. Use black thread to embroider a smile and a nose.
Step 8: Hat
Make Santa’s hat with red yarn. Start with a magic ring and work in increases to create a tapered piece. Sew the hat onto your head.
Step 9: Filling
Stuff the body, head and boots with fiber or cotton batting to shape Santa. Make sure to fill the parts well so that it stays firm.
Step 10: Finalization
Sew the hat in place and add the finishing touches. Add a small pompom to the tip of the hat and any other details you would like.
And ready! Now you have an adorable Amigurumi Santa Claus to decorate your home or gift to someone special. Remember to be patient and have fun during the process. Crochet is a wonderful art that allows you to create beautiful pieces. Keep practicing and exploring new projects! Happy crochet and merry Christmas! 🎅✨
If you, like us here at the Crochet And Me blog, like crochet as much as we do, feel free to browse our pages and find the best crochet pattern to fit your crochet moment, below we will leave you with some options:
Train Amigurumi – Free Pattern
Amigurumi Christmas Wreath Free Pattern
Vintage Granny Square Christmas Tree
Access the free crochet pattern
It is with great affection, love, grace and mercy that we wish all our readers a life full of God’s blessings in their homes, and mainly showered with good cheer and creativity to make the most beautiful crochet patterns.
Crochet And Me!